There's a magical quality to homemade caramel that store-bought versions simply can't replicate. That perfect balance of rich, buttery sweetness, a delightfully chewy texture that melts in your mouth, and the comforting aroma filling your kitchen – it’s an experience unto itself. While the idea of making your own confection might seem daunting, rest assured, creating truly easy homemade caramel is much simpler than you imagine, especially when you master the age-old secret: the ice water test.
Forget the anxieties of candy thermometers and precise temperatures; this article will guide you through a foolproof method, making perfect homemade caramel an achievable delight for every home cook. Get ready to transform simple pantry staples into golden nuggets of pure bliss.
Why Homemade Caramel Reigns Supreme
Beyond the sheer satisfaction of creating something delicious from scratch, there are compelling reasons why investing a little time in making homemade caramel is immensely rewarding:
- Unparalleled Taste and Texture: Mass-produced caramels often lack the depth and creaminess of their homemade counterparts. Freshly made caramel offers a richer, more complex flavor profile with a perfectly soft, pliable chew that never feels sticky or overly hard. It’s a truly melt-in-your-mouth experience.
- Simple, Wholesome Ingredients: You'll likely find all the necessary components already in your pantry: butter, sugar, corn syrup, evaporated milk, and vanilla. Knowing exactly what goes into your treats brings peace of mind and allows you to control the quality.
- A Cherished Tradition: For many, making homemade caramel is more than just cooking; it’s a time-honored tradition, especially during the holidays. It’s a wonderful way to create lasting memories and share edible gifts with loved ones. Dive deeper into this heartwarming aspect with our guide on Treasured Family Recipe: Soft & Chewy Holiday Caramels.
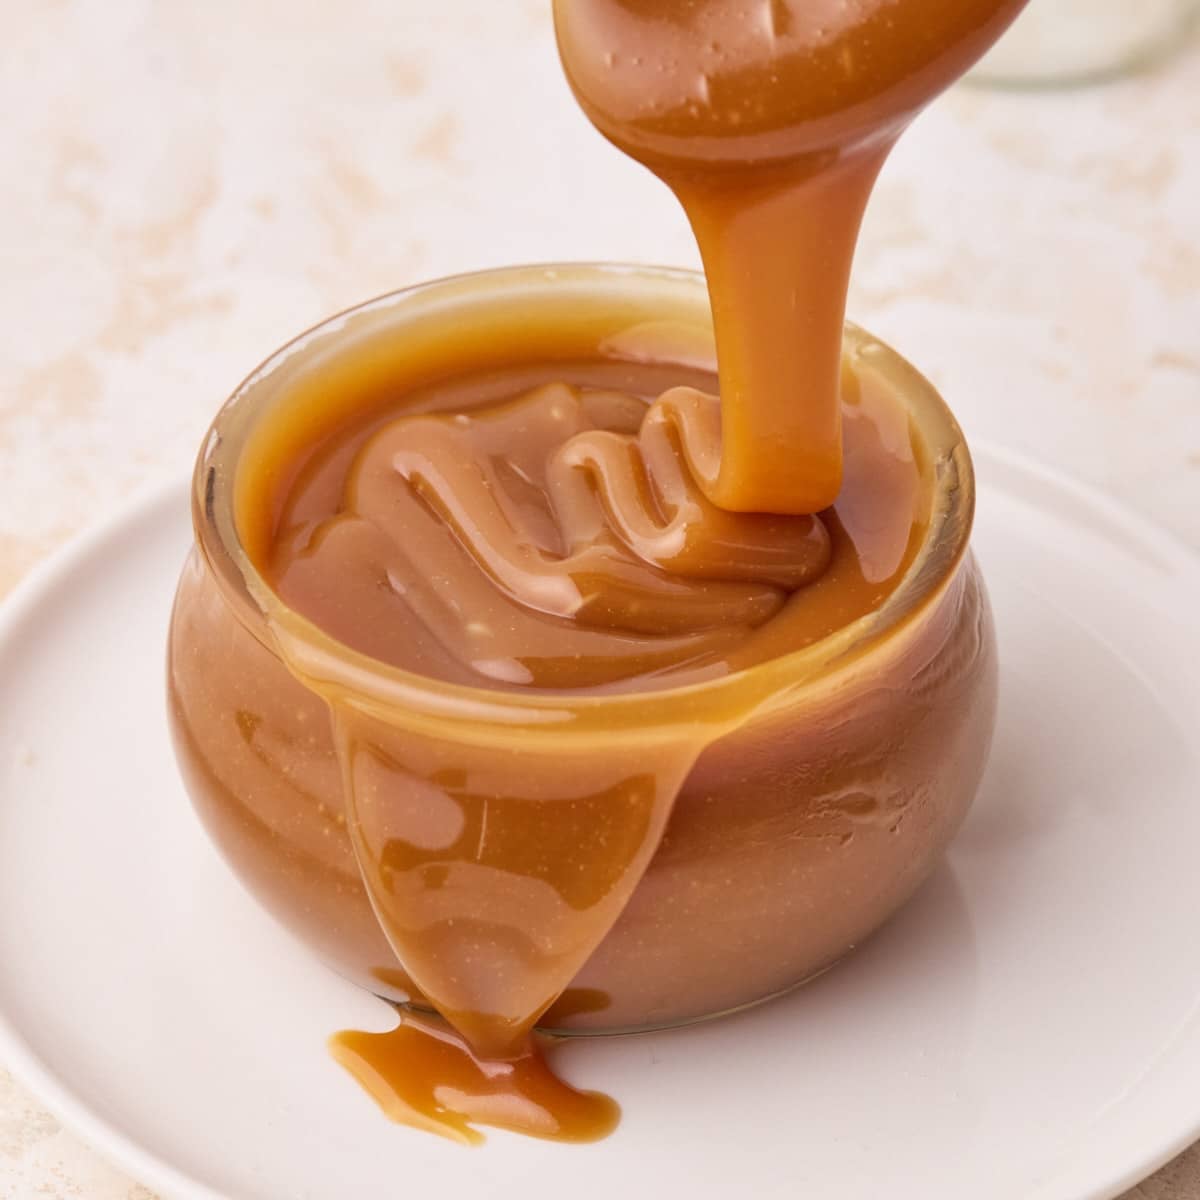
- Versatility Beyond Belief: While delectable on its own as a chewable candy, homemade caramel is incredibly versatile. Drizzle it over ice cream, use it as a filling for cakes and tarts, stir it into coffee, or transform it into a decadent sauce for a wide array of desserts.
Essential Ingredients & Tools for Your Caramel Journey
Success in caramel making begins with having the right ingredients and equipment. Nothing fancy, just the essentials to ensure a smooth process.
The Core Ingredients:
- Unsalted Butter: The foundation of rich, buttery flavor. Using unsalted allows you to control the overall saltiness.
- Granulated Sugar: The sweet backbone of your caramel.
- Light Corn Syrup (Karo Syrup): This unsung hero is crucial for preventing sugar crystallization, ensuring your caramel remains smooth and free of grittiness. It also helps achieve that desirable chewy texture.
- Evaporated Milk: Unlike regular milk or cream, evaporated milk is precisely what the recipe calls for. It's a concentrated, shelf-stable milk that contributes to the caramel's characteristic creaminess and depth of flavor without curdling easily under high heat.
- Pure Vanilla Extract: Added at the very end, vanilla elevates the overall flavor, adding warmth and complexity.
Non-Negotiable Tools:
- Large, Heavy-Bottomed Saucepan: This is arguably your most important tool. A heavy bottom distributes heat evenly, preventing hot spots that can scorch your caramel. The "large" part is equally important, as the mixture will bubble up significantly, requiring ample headroom.
- Wooden Spoon or Heatproof Spatula: For constant, gentle stirring.
- Measuring Cups and Spoons: Accuracy is important in candy making.
- Prepared Baking Pan: An 8x8 or 9x13 inch pan (depending on desired thickness) lined with parchment paper or aluminum foil and lightly buttered or sprayed with non-stick spray. This prevents sticking and makes removal easy.
- Small Bowl of Ice Water: Your secret weapon for the ice water test!
- Small Spoon: For dropping caramel into the ice water.
- Pastry Brush (Optional, but Recommended): Useful for brushing down sugar crystals from the sides of the pan, which can prevent grittiness.
The Step-by-Step Guide to Foolproof Homemade Caramel
Patience and attention to detail are your best allies in making perfect homemade caramel. Follow these steps carefully, and you'll be rewarded with a batch of exquisite chewy treats.
1. The Initial Combine & Boil
Combine your butter, granulated sugar, and light corn syrup in your large, heavy-bottomed saucepan. Place the pan over medium heat. Stir constantly until the butter is melted and the sugar is dissolved, then continue to stir occasionally until the mixture begins to boil, usually within 5-10 minutes. At this stage, focus on consistent melting and gentle heating. Avoid vigorous stirring once boiling begins, as this can encourage sugar crystallization.
2. The Slow Introduction of Evaporated Milk
This is a critical stage that requires patience. Gradually add the evaporated milk, one can at a time, taking your time – about 12-15 minutes per can. Pour in a little bit, stir it in, allow the mixture to return to a constant boil, then add a little more. It's vital that the mixture maintains a steady, constant boil throughout this process. Rushing this step or allowing the temperature to drop too much can cause your caramels to curdle or become grainy. Maintaining a consistent medium heat on your stove is key to avoiding temperature fluctuations.
3. Mastering the Ice Water Test: Your Caramel's Readiness Indicator
This is where the magic happens and why a candy thermometer often isn't needed. While thermometers can be unreliable due to calibration issues or varying altitudes, the ice water test gives you direct feedback on your caramel's texture, allowing for perfect customization. Continue stirring the caramel mixture constantly, scraping the sides occasionally, as it cooks down and thickens. This phase can take some time, so don't rush it.
To perform the test:
- Keep a small bowl of ice water ready beside your stove.
- When the caramel looks thick and has taken on a rich golden-brown color, drop a small spoonful of the hot caramel into the ice water.
- Allow it to cool for about 10-15 seconds.
- Retrieve the cooled caramel blob from the water with your fingers.
- Gently mold the caramel between your fingers.
- Desired Consistency: You're looking for a consistency that is "pretty firm and pliable." It should hold its shape, be easily moldable into a ball, and feel chewy but not overly sticky or hard. If it's too soft and dissolves, it needs more cooking. If it's hard and brittle, you've gone too far (though a slight overcook can sometimes be salvaged by reducing the cooking time slightly on your next batch).
Once you achieve this perfect "firm ball" stage, immediately remove the pan from the heat and stir in the pure vanilla extract. The residual heat will incorporate the vanilla beautifully.
4. Cooling & Wrapping for Perfection
Pour your hot caramel mixture into your prepared pan. Use an offset spatula or the back of a spoon to spread it evenly. Allow the caramel to cool and set completely. For best results, refrigerate the pan overnight, or for at least several hours. This chilling period is crucial as it allows the caramel to firm up enough to be easily cut without sticking excessively to your knife.
Once thoroughly chilled and firm, lift the caramel slab out of the pan using the parchment paper or foil lining. Place it on a cutting board. Cut the caramel into small, bite-sized pieces using a sharp, lightly oiled knife. While the caramel will feel quite firm straight from the fridge, it will soften to that ideal chewy consistency at room temperature. For gifting or storage, wrap each piece individually in wax paper, twisting the ends like a classic Tootsie Roll. Store your delightful homemade caramels in an airtight container at room temperature for several weeks, or in the refrigerator for extended freshness.
Advanced Tips for Caramel Success (Beyond the Basics)
- Don't Be Afraid to Use a Pastry Brush: As the caramel cooks, sugar crystals can sometimes splash onto the sides of the pan. These can fall back into the mixture and cause your caramel to become grainy. Dip a pastry brush in water and periodically brush down the sides of the pan to wash these crystals back into the main mixture.
- Altitude Matters: If you live at a high altitude, water boils at a lower temperature, which can affect candy making. The beauty of the ice water test is that it accounts for this naturally, as you are testing the actual consistency rather than a fixed temperature.
- Gentle Stirring: While constant stirring is required, especially when adding milk, avoid overly aggressive stirring. This can introduce too much air, which can affect the final texture.
- Troubleshooting Texture:
- Too Soft/Saucy: This means your caramel didn't cook long enough. You can gently reheat it and continue cooking, performing the ice water test frequently.
- Too Hard/Brittle: You likely cooked it a bit too long or at too high a heat. A slight overcook might still be edible, but if it snaps rather than chews, it's overdone. Make a mental note for your next batch to stop cooking a little sooner.
- Grainy Texture: Usually a sign of sugar crystallization. This can be due to not enough corn syrup, stirring too much at the wrong times, or not wiping down sugar crystals from the sides of the pan.
Making homemade caramel is a deeply satisfying culinary endeavor. With simple ingredients, a little patience, and the undeniable reliability of the ice water test, you can confidently create batches of perfectly soft, chewy, and utterly delicious caramel every time. It's a sweet reward for your efforts, whether enjoyed as a personal treat, a delightful dessert topping, or a cherished holiday gift. Embrace the process, trust your instincts (and your fingers with the ice water test!), and prepare to impress yourself and everyone around you with your newfound caramel-making prowess.
